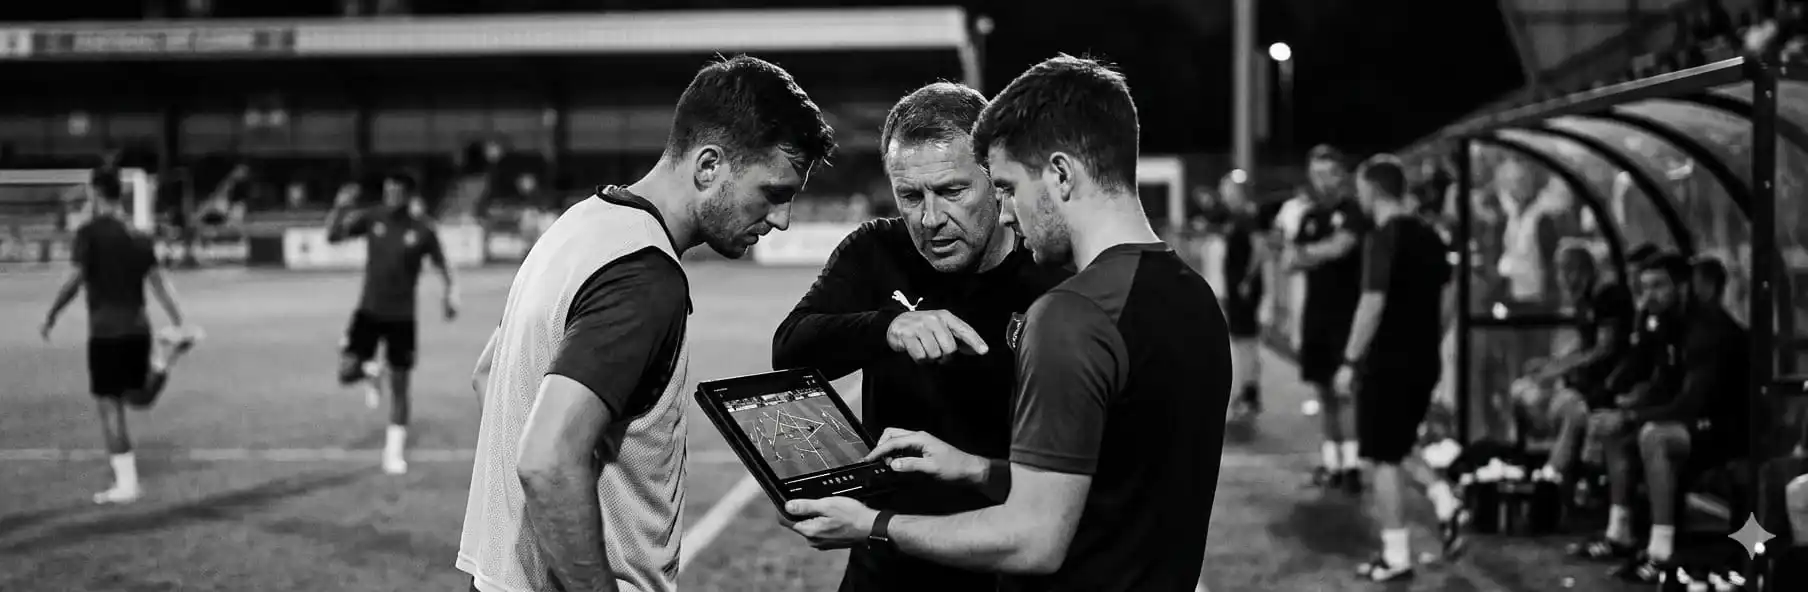
Video Analysis in Football Pre-Season Friendlies: What to Assess Before the Season
How to use video analysis in pre-season football friendlies: collective indicators, errors to identify and how to turn footage into tactical decisions before matchday 1.
Written by
João Araújo
Physical Education Teacher (FADEUP – University of Porto) · Futsal Coach – Level II · UEFA B License · Master’s in Physical Education
15 years teaching Physical Education in schools, 20 years coaching futsal at youth development level and 5 years coaching football. Federated and amateur football and futsal player.
A pre-season friendly without video analysis is a wasted opportunity. Playing is good. Playing and analysing is what separates squads that improve from those that repeat the same mistakes match after match. The difference between a useful friendly and a mere fitness run is what you do with the footage afterwards.
The most common mistake in friendly video analysis is focusing on individual errors. “The full-back didn’t close the channel.” “The striker delayed the pass.” This kind of analysis creates individual pressure and hides the real problem, which is almost always collective.
What to Assess in Pre-Season Friendlies
Analysis should focus on collective behaviours, not individual errors. The relevant indicators vary depending on the purpose of the friendly, but there are three main categories:
1. Defensive Organisation
Check whether the team is executing what was worked on in training:
- Defensive block: is the team maintaining compact lines or are there gaps between lines?
- Pressing triggers: are players pressing at the defined triggers or pressing individually and chaotically?
- Relative positioning: are players maintaining correct distances from each other in the ball corridor?
2. Offensive Organisation
- Ball circulation: is the team respecting the system positions or collapsing towards the ball?
- Depth: is there presence in the final third or is the team playing too much in the middle?
- Width and half-spaces: are wide players stretching the pitch or staying narrow? Are interior midfielders occupying the half-spaces (the zone between the opposition full-back and centre-back) or remaining in the central corridor?
3. Transitions
Transitions are the most revealing indicator of the system’s installation status:
- Defensive transition: how many seconds does it take the team to organise after losing the ball?
- Offensive transition: does the team exploit numerical superiority situations in the first 5 seconds?
Practical Application: The Post-Friendly Analysis Workflow
Step 1: Identify 3 to 5 reference moments
After the friendly, do not go through the entire match. Instead, identify the 3 to 5 moments that best illustrate the collective behaviours you want to analyse, using timestamps for quick navigation.
Step 2: Create a thematic, not chronological, analysis
Group clips by theme: “defensive transition”, “pressing”, “press exit”. Showing the group 2 or 3 clips on the same theme consecutively creates a recognisable pattern and does not create cognitive overload.
Step 3: Open questions, not judgement
In the video analysis session, the question “What should have happened here?” is more productive than “This was the mistake.” Players internalise corrections better when they arrive at them themselves, rather than receiving them as criticism.
🔧 Useful Tool
Tagging key moments during the friendly (with timestamps, categories and associated players) is the foundation of any effective analysis. The SportsLabTools Football Video Analysis tool lets you index actions in real time during the match and export clips for team sessions.
What Not to Do in Friendly Video Analysis
- Show the entire match: no player maintains attention for 90 minutes of analysis
- Focus only on errors: showing correct moments too reinforces positive behaviours
- Not defining the analysis objective before starting: “we’re going to watch the match” is not an objective
- Criticising individuals in a group setting: individual criticism in a collective session creates resistance and embarrassment
When to Show Footage to the Group
The ideal window for video analysis is 24 to 48 hours after the friendly: players still have a vivid memory of what happened but are no longer under the emotional impact of the result. Analysis sessions immediately after the match (in the dressing room) should be short (5–10 minutes), high-energy and focused on a single theme.
Checklist: Video Analysis of Pre-Season Friendlies
- Analysis objective defined before the friendly (what are we observing?)
- Timestamps recorded during the match for quick navigation
- 3 to 5 clips selected by theme, not chronologically
- Analysis session held 24–48 hours after the friendly
- Open questions to the group, not direct judgement
- Positive moments included alongside errors
- Analysis findings recorded for follow-up in training
Conclusion
Video analysis of friendlies is not a luxury; it is the fastest feedback mechanism a manager has to accelerate tactical system installation. Squads that analyse their friendlies arrive at the start of the season with a collective understanding of the game that squads who “just play” take weeks to develop.
The camera does not lie. Use it.
See also: How to Install a New Tactical System in Pre-Season Without Wasting Time
Tag key moments during your friendlies in real time. Use the SportsLabTools Football Video Analysis tool to record actions with timestamps, organise by category and prepare effective analysis sessions with your squad.
Optional accelerator · the tool is always free
Start tagging matches without spending hours building categories
An analysis model with 12 categories and more than 60 actions organised by game moment, already carrying individual/collective context and pitch and goal location. Import it and tag your first clip right away.